My free-kick and corner set piece videos.
http://www.youtube.com/watch?v=5fQslGusysk
http://www.youtube.com/watch?v=7ruIdMcEHVc
Monday, 28 January 2013
Wednesday, 16 January 2013
Volleyball coaching
On the 16 of January we had to come up with a certain skill / technique in volleyball to coach. I chose to coach the serve, my three coaching points for the serve were;
-Knees bent
-Use the bottom part of your hand
-Strike the ball at the highest point possible
Overall I think the coaching went well.


Tuesday, 15 January 2013
Futsal Rules
- There are 5 players, one of which must be a goalkeeper.
- Each team may have 7 substitutes with unlimited substitution.
- Substitution must take place at the Substitution Zone. The player being replaced must be completely off the court before the replacement enters the court. The Referee need not be informed.
- The team winning the toss must decide which way to run- a goal can be scored from the kick off. The ball is in play when it is touched and moves forward.
- When the ball passes over the touchlines the game is restarted by a kick in. The ball must be stationary on the touchline and can be kicked into play in any direction. The kicker must have both feet on the touchline or behind the touchline.
- Goal Clearances – When the ball passes over the goal line having last been played by a attacker the game is restarted by a goal clearance. This must be done by the goalkeeper and the ball must be thrown directly out of the penalty area.
- If the ball hits the roof a kick in is taken by the other team opposite to where the ball hit the roof.
- Goalkeepers cannot receive the ball by hands or feet after releasing the ball from their possession unless it has been touched by the opposition or passed over the half way line. This also applies to a goal clearance. Goalkeepers must release the ball within four seconds of gaining control of the ball.
- At free kicks, kick ins, corner kicks all opponents must be 5 meters from the ball and the ball must be put into play within four seconds of taking possession of it.].
- Fouls & Misconduct: Fouls resulting in a direct free kick are the same as outdoor soccer with the following additions:
- Charges a opponent with the shoulder
- Slides in a to play the ball when it is being played or attempted to being played by a opponent except for a goalkeeper in his penalty area and he must not do it in a careless or reckless way or use excessive force.
- Penalty mark is 6 meters and second penalty mark is 10 meters. The second penalty mark is used if a team accumulates more than five fouls in a half.
- Accumulated Fouls
- Are those sanction by a direct free kick
- The first five fouls sanctioned by a direct free kick, in each half a recorded
- For these first 5 fouls a defensive wall may be formed by the opposing team to defend the kick.
- Beginning with the sixth foul the players of the opposing team may not form a wall to defend the kick.
- The kick is taken from the second penalty mark unless the foul occurred beyond the mark when the non offending team has the option to take the kick where the foul occurred or from the second penalty mark of 10 meters
- The player taking the kick must be identified and must kick with the intention of scoring. The ball cannot be passed to another player.
- The goalkeeper must remain in his penalty area and be 5 meters from the ball.
- All other players must remain behind a imaginary line level with the ball and parallel with the goal line. They must be five meters from the ball and may not obstruct the player taking the kick.

Sunday, 13 January 2013
Hockey Coaching
We had to coach a technique or skill based around improving a persons ability to play hockey. My three coaching points where;
- Two hands on the stick
- weaker hand higher than strongest
- Back slightly hunched over
I coached shooting whilst trying to get the three coaching points across.


Monday, 7 January 2013
Skills/ Techniques (Volleyball, cricket, tennis, basketball & hockey)
Volleyball - Serve
- 1
- If you are right-handed, put your left leg forward and put all your weight on your back foot. (opposite for left handers)
- Place the ball in the palm of your NON STRIKING hand under the volleyball and hold it out in front of you a little lower than your hip and across your body directly in the line of your striking hand. (Elbow straight)
- Make sure your right (striking) hand is in a fist. (Closed fingers and heel of hand facing the ceiling).
- Let your striking hand drop from behind the ball to back beyond your hips a little bit. (Elbow straight-closed fingers and heel facing the floor)
- As you step forward with the opposite foot of the striking hand (Both elbows are still straight) bend your knees, lower the held ball and lean your head over the ball, bring your striking hand forward to meet the ball.
- The heel of your hand and folded fingers strike just beside your pinkie. Don't let your foot go over the line or it is considered a foot fault.
- Once you make contact with the ball, extend your legs up for power,and follow through!(follow through: continue your arm swing upward and point your striking hand in the direction of your intended target)
- Cricket - Bowling
- STEP ONEThe run-up
- As you set off from the top of your run-up, start by using small steps before changing to larger strides
- Keep your arms close to your body and your head steady - keep your eyes fixed on the target - the batsmanSTEP TWOThe bound
- As you approach the crease, turn your body to get side on and lean back slightlySTEP THREECoil
- The coil is the spring from which the ball is released. Keep the ball close to your chin with your head looking behind a high front arm
- As your back foot lands on the pitch, keep your body upright. Your back leg should remain stable and support the body while the front foot should be raised slightly
- Your front foot should be pointing to the batsman as it lands with the leg braced ready to take the full impact of the deliverySTEP FOURRelease
- As the shoulders begin to rotate, push your bowling arm forward and down from the coil position, with your non-bowling arm pointing to the batsman
- The arms should rotate through with the ball released at the top of the delivery arcSTEP FIVEFollow through
- As you follow through, fold your bowling arm into your body and swing your hips around to finish
- Your momentum will take you towards the batsman but make sure you don't run down the middle of the pitch


- Tennis Serve
STEP ONE

It is the one shot in tennis that you are in total control of, so do not waste the opportunity by rushing. Spend time getting your set-up right and getting your mind focused on what you are trying to do and where you are trying to hit the serve. Line your feet up with where you want the ball to go. Have your front foot at an angle but have your back foot running parallel to the baseline. Point your racquet forwards to the target and use your spare hand to balance by lightly supporting the throat of the racquet. Ideally the grip should be the chopper grip. This can be difficult to begin with, so it is fine to have a slight forehand grip, but look to move it around as soon as possible.
STEP TWO

The key from here is balance, timing and rhythm. Raise your hands up together just a short distance then bring them down together. As you do this start to turn your body away from the court so that you are sideways onto it. You also need to be transferring your weight from your front to back foot. Try to feel a smooth, co-ordinated action, all the different parts of your body should be working together not against each other.
STEP THREE

Once you have made the sideways turn and your hands have reached their lowest point, you need to separate your arms and bring them back up in different directions. Your left arm should be straight to enable you to accurately throw the ball up in the correct spot. The ball should be slightly in front of you and to a height about six inches above your outstretched racquet. Your right arm needs to come back into a throwing position. This is the most difficult part of the action because at the same time as co-ordinating your arms you need to transfer your weight from your back foot on to your front.
STEP FOUR

As the ball reaches the top of the throw up, accelerate the racquet head at the ball in a throwing action. Look to reach up to the ball as you hit - the higher you make contact the more power you can generate.
STEP FIVE

Follow through across your body, then look to recover quickly ready for your next shot.
Basketball Dribbling technique
STEP ONE

Gain control of the ball by spreading your fingers over the top.
Begin the dribble by pushing the ball firmly to the floor. Use your hand, wrist and arm to control the height and speed of the bounce. Try to keep the ball at waist level.
STEP TWO

Keep your hand on top of the ball so it rebounds accurately, and try not to let the ball hit the palm of your hand.
Absorb the impact instead. Feel the ball with your fingers and let your wrists move the ball.
STEP THREE

Move forward on the balls of your feet and bend your knees to maintain your balance.
Keeping your body over the ball will help to shield it from your opponents. Practice while looking out in front of you, so you can assess your options, rather than down at the ball.
Hockey shooting technique
The wrist shot is probably the most effective shot in hockey. It is the most accurate shot and it can be released fairly quickly. This is the shot that a player should learn first. While not as fast as the slap shot, with practice, proper technique and upper body strength, the wrist shot can be a very powerful shot.
|
WRIST SHOT - Use the proper stick grip and take on the proper hockey stance. For the wrist shot, move your lower hand halfway down the shaft to add power to the shot. Position your body at a 45-degree angle to the net. Bring the puck behind or even with your back leg lowering your shoulder as you reach back and down with your stick to position the puck. Keep the puck in the middle of the blade with the blade tilted over the puck (rotate your wrists). In this position, your weight should be on your back leg.

Sweep the puck forward while transferring your weight toward your front foot and rotating your body forward. As the stick blade crosses your body, transfer body weight on your stick while pushing forward with your lower hand and pulling backward with your top hand. The puck is released when it reaches your front foot and your shoulders are square to the net. At the point of release, your wrists turn causing the stick blade to turn out and lift the puck. After the puck is released, follow through pointing the toe of your stick toward the target. The height of the shot depends on how much you rotate your wrists and how high your follow-through is.
The short wind up wrist shot is similar to the description above except that the puck is positioned between your back leg and front leg. Starting with your weight on your back leg, you step directly into the shot transferring body weight on your stick while pushing forward with your lower hand and pulling backward with your top hand. The short wind up has a quicker release and should be used when there is little time to prepare and power is not necessarily required.
For the wrist shot advanced shooters will position the puck on the back third of the blade. When the shot is released, the puck rolls toward the toe of the blade causing a spin on the puck, which provides a faster and more accurate shot.
About me
Nathan Stacey,
D.O.B - 22 January 1996,
I'm currently at Chesterfield College on a BTEC level 3 Sports coaching, development and fitness course. Alongside this course I am also hoping to acquire my refereeing badge. From doing this course I hope to go on to getting my F.A coaching badges or level 2 at least, coaching in America in 2014 for 3 months is also a possibility for me and hopefully gain me some great experience.
Abercrombie school visit/ tour 16/10/12
On my first tour of Abercrombie primary school the head teacher seemed really pleasant and into his sport, which of course is a great help.
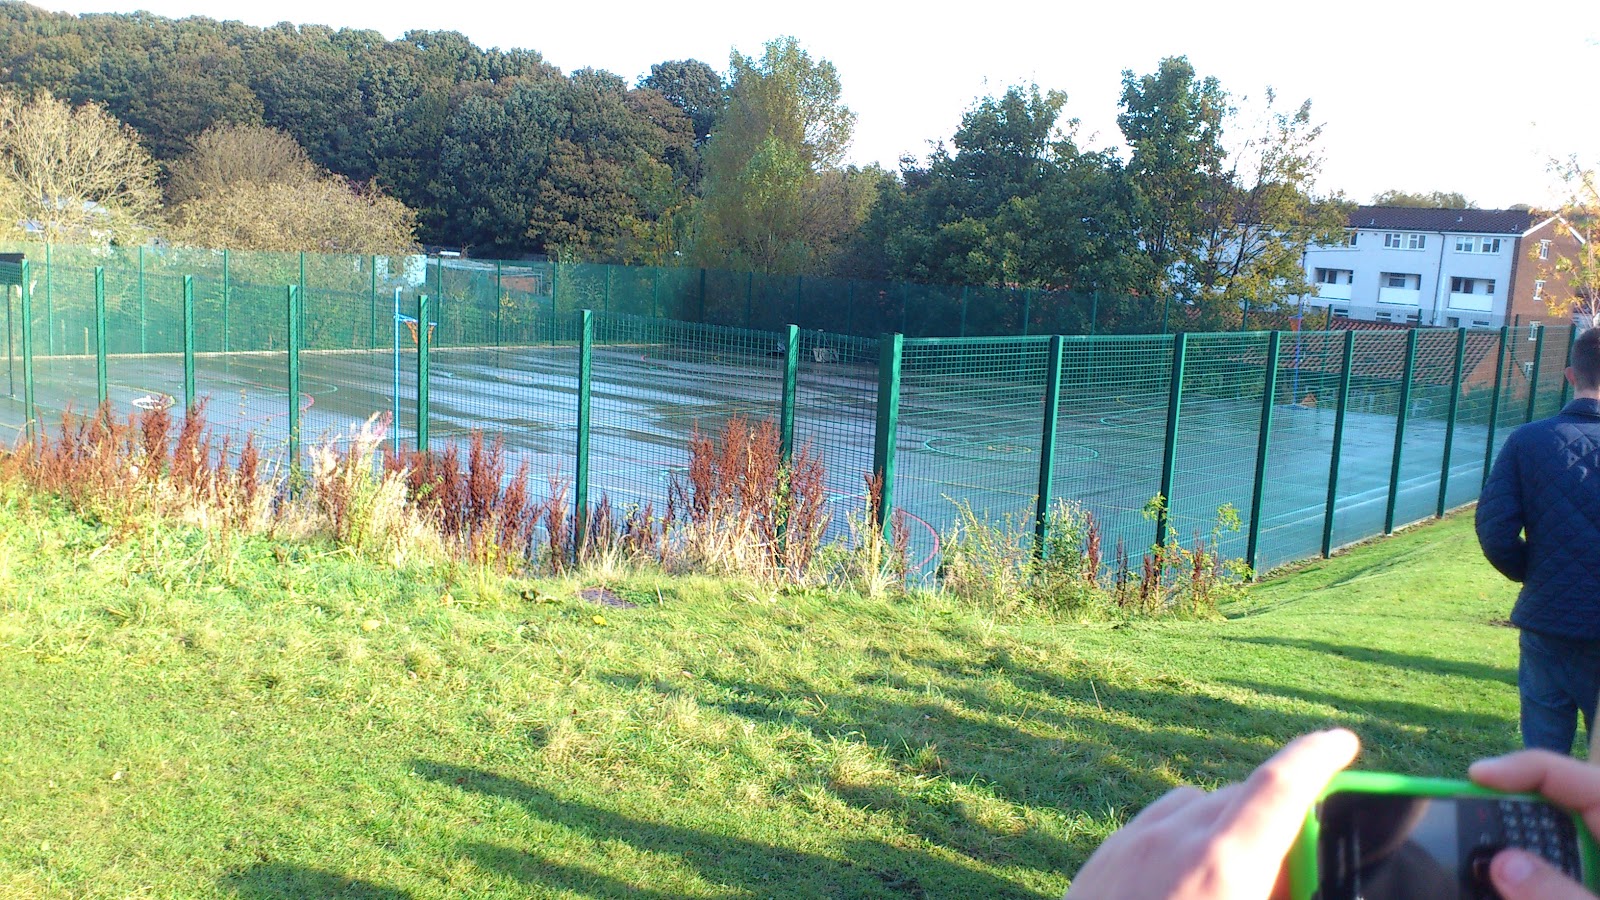
The facilities seemed great for my groups session plan. The multi use game area (MUGA) will be great for our session and also allow the students to benefit from the comfortable space available & the outdoor learning environment.
However if the weather is poor and this area isn't available they also have an indoor hall which is also great so we can deliver our session not matter what the circumstances are.
Below are a few photo I took of the facilities.
Subscribe to:
Posts (Atom)